Learning Objectives
- Define and discuss the concept of a system--generally.
- Build and label a system flow diagram for both a computer and a non-computing machine and discuss their common component functions
- Annotate a photograph of a computer by noting the core components and their function
- Explain the general idea of binary data storage and operations inside as applied to computers
Lesson Sequence
- To get a sense of what kinds of technology our course will explore,view the segment: movieIs a digital camera a computer? which explores our working definition of a computer.
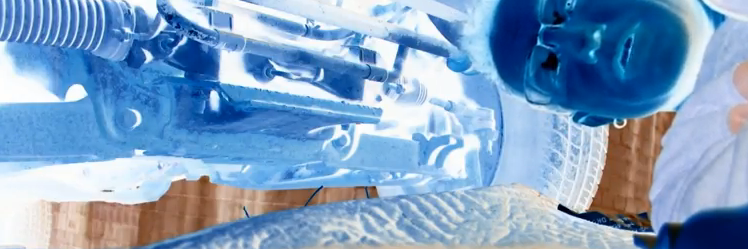
- Choose a non-computer system that interests you and create a diagram of its components and their relationships. movieIn this example video, Eric explores the steering system in a truck and shows how a diagram of this system can be generated.
- If you need inspiration, you can browse any of Spring 2018 student work in our shared could directory (the same place you'll save your diagrams).
- Devote 20 minutes of study to overview articles on computers hosted on Wikipedia
 and the Computer hardware on Wikipedia You'll be making a system diagram of a computer system, so get a flavor for what the range of components inside a computer is.
 - Now that you have your own non-computer system diagrammed, review the list of core components in a computer on the wikipedia article linked in step 3. movieAs you watch the final video (week 1, segment 4) start creating a note card for each of these core components which list the name and a carefully summarized definition of what that component does.
- Power supply
- Motherboard
- CPU
- Random Access Memory
- Hard Drive
- Input devices
- Output devices
- Work on assembling a diagram of how these listed components work together by arranging your note cards on a table. You can place sheets of paper under the cards and draw connecting lines between them, labeling what is flowing. NOTE that this is an exploratory activity so you can tinker with computer components. We'll review the complete diagram starting next week.
- Assemble your two diagrams and a discussion of how they are connected into a word processing document as explained in the following section: Weekly Products
Weekly Products
STEP 1: Manufacture your Special ID number. Locate your student id number either within MyCCAC or on your Student ID card. Your four-digit special ID is the FIRST TWO followed by the LAST TWO digits of your student ID number. Write this number down in a safe place.
So if my assigned student ID number is 56387239, the special ID I'll use throughout this course is 5639.
STEP 2: Create a new word processing document using MS Word or the free and open source Libre Office Writer. Type your first name, "CIT100, Fall 2018, Week 1" and your special ID number at the top. (See the intro video for instructions on creating your special ID.)
STEP 3: Save this document with a title that looks like this (items in [square brackets] should be replaced with their actual value):
fa18_online_[your first name]_[special ID num]_systemDiagramming_[title].[ext]
For example, Juan's special ID number is 1234 and he created the document in Libre Office Writer that produces files with a .odt extension so he would name his file:
fa18_online_juan_1234_systemDiagramming_steering.odt
Full instructions for submitting files for sharing are found in our toolbox under Universal Work Submission Guide.
STEP 4: Create three sections in this document, and include your work on each of these three tasks that you've created over the week in that document.
- Component diagram of a non-computer system
- Labeled component diagram of a specific computer system you regularly use
- Brief discussion of what these two diagrams have in common and what makes them unique
If you make a digram on paper, snap a photo of it, and transfer it to your computer via email. If you need guidance on that, this tutorial provides four different transfer mechanisms. You can then insert photos into a MS Word document with these simple steps.
NOTE that you can find tutorials for almost any basic office task by searching intelligently in a search engine. I found this one by searching "insert images into ms word". Best to not phrase searches as questions.
STEP 5: Upload--Once your document is complete, upload that document to the directory called Module_systemDiagrams. and your week is done!
STEP 6: Take the brief submission quiz on BlackBoard
Essential Resources
These are also linked in the steps they should be reviewed above.
Computer basics on Wikipedia ![]() provides a through discussion of how we can define a computer and insights about the history of computing.
provides a through discussion of how we can define a computer and insights about the history of computing.
Computer hardware on Wikipedia ![]() provides a base knowledge about each and every component inside a computer.
provides a base knowledge about each and every component inside a computer.
curiosity Corner
The Imitation Game film ![]() about Alan Turing, a leading thinker in the development of modern computing. Complete with WWII drama, machinery, and even an exploration of romance with a mathematician.
about Alan Turing, a leading thinker in the development of modern computing. Complete with WWII drama, machinery, and even an exploration of romance with a mathematician.